
Mount Kilimanjaro
7 Days Mount Kilimanjaro Trek – Lemosho Route
- Overview

- Itinerary
Day 1: Lemosho Gate to Mti Mkubwa Camp
- Hiking Time: 3–4 hours | Distance: 7 km
- Vegetation Zone: Rainforest
- Overnight: Mti Mkubwa Camp (2650 m)
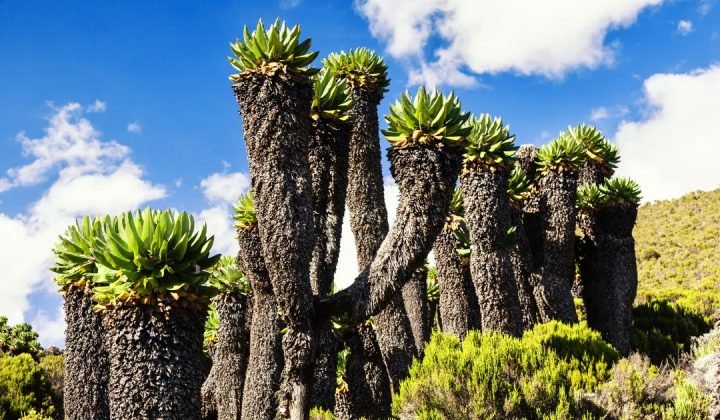
Your trek begins at Lemosho Gate after completing park formalities. The trail immediately immerses you in lush rainforest, with chances to spot monkeys, birds, and exotic flora. This section is shaded and slightly muddy but relatively gentle. Your goal is Mti Mkubwa (Big Tree) Camp, nestled among ancient trees. Upon arrival, you’ll settle in, enjoy a hot meal, and receive a trek briefing for the next day.
Day 2: Mti Mkubwa Camp to Shira 1 Camp
- Hiking Time: 5–6 hours | Distance: 8 km
- Vegetation Zone: Moorland
- Overnight: Shira 1 Camp (3610 m)
The trail ascends steeply out of the rainforest into the moorland zone. Expect stunning views of the Shira Plateau and Mount Meru in the distance. As the vegetation changes, so does the terrain, becoming more open and rocky. By midday, you’ll arrive at Shira 1 Camp where you’ll enjoy expansive views and likely a colorful sunset.
Day 3: Shira 1 Camp to Shira 2 Camp
- Hiking Time: 3–4 hours | Distance: 7 km
- Vegetation Zone: Moorland
- Overnight: Shira 2 Camp (3900 m)
Today’s trek is relatively short and important for acclimatization. You’ll walk across the wide, open Shira Plateau, passing volcanic rock formations and sparse alpine vegetation. Arriving early at Shira 2 Camp allows time for rest or an optional short acclimatization hike in the afternoon.
Day 4: Shira 2 Camp to Barranco Camp via Lava Tower
- Hiking Time: 6–7 hours | Distance: 10 km
- Vegetation Zone: Alpine Desert
- Overnight: Barranco Camp (3960 m)
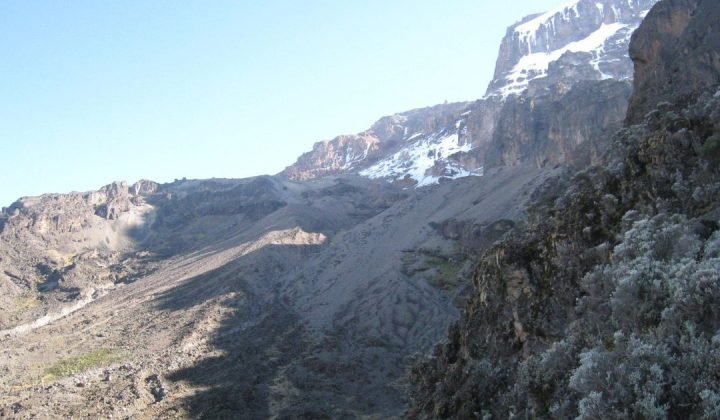
This is an acclimatization day as you ascend to Lava Tower (4630 m) before descending to Barranco Camp. The route offers incredible views of the Western Breach and Kibo peak. The trek challenges your lungs as you reach higher altitudes, but the drop to Barranco helps your body adjust. At camp, enjoy dramatic views of the towering Barranco Wall.
Day 5: Barranco Camp to Karanga Camp
- Hiking Time: 4–5 hours | Distance: 5 km
- Vegetation Zone: Alpine Desert
- Overnight: Karanga Camp (4035 m)
You begin with the thrilling scramble up the Barranco Wall—one of the trek’s most exciting sections. After reaching the top, you hike over a series of ridges and valleys, gradually gaining altitude. Arrive at Karanga Camp by early afternoon and rest. This shorter day aids acclimatization and prepares you for the high-altitude push ahead.
Day 6: Karanga Camp to Barafu Camp
- Hiking Time: 3–4 hours | Distance: 4 km
- Vegetation Zone: Alpine Desert
- Overnight: Barafu Camp (4640 m)
The trail is steep but steady as you ascend to Barafu Camp. The alpine desert here is stark and exposed. After lunch and rest, you’ll receive a summit briefing and try to sleep early. This is your last stop before the summit attempt.
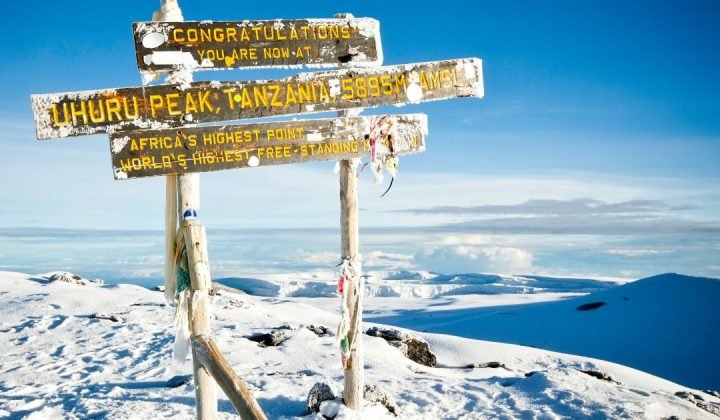
Day 7: Barafu Camp to Uhuru Peak to Mweka Camp
- Hiking Time: 11–14 hours | Distance: 17 km
- Vegetation Zones: Arctic Summit, then Alpine & Moorland descent
- Overnight: Mweka Camp (3100 m)
Just after midnight, you’ll begin the climb to Uhuru Peak—the roof of Africa. The trail is steep and cold, with switchbacks leading to Stella Point (5756 m), then a final push to Uhuru Peak (5895 m). After celebrating at the summit, descend to Barafu for rest, then continue down to Mweka Camp. Expect a long, rewarding day.
- Included in this Tour
- Transportation from/to your Hotel
- Park Entry Fee
- Professional Guide
- Airport Transfers
- Full Board Accommodations
- Government Applied VAT
- Not Included in this Tour
- Tipping & Gratitude
- Arrival & Transit Visas
- Medical & Travel Insurance
- Drinks at the Hotel
- Drones Usage
- International Flight
ENQUIRY FORM
- Related Tours
6 Days Mount Kilimanjaro Trek – Rongai Route
- 6 Days / 5 Nights
Overview Itinerary Day 1: Nalemuru Gate to Simba Camp Hiking Time: 4–5 hours |
7 Days Mount Kilimanjaro Trek – Rongai Route
- 7 Days / 6 Nights
Overview Itinerary Day 1: Nalemuru Gate (1,990m) to Simba Camp (2,625m) Hiking Time: 4–5
6 Days Mount Kilimanjaro Trek – Machame Route
- 6 Days / 5 Nights
Overview Itinerary Day 1: Machame Gate to Machame Camp Hiking Time: 5–7 hours |
7 Days Mount Kilimanjaro Trek – Machame Route
- 7 Days / 6 Nights
Overview Itinerary Day 1: Machame Gate (1,800m) to Machame Camp (2,835m) Hiking Time: 3–4
9 Days Mount Kilimanjaro Trek – Northern Circuit Route
- 9 Days / 8 Nights
Overview Itinerary Day 1: Lemosho Gate to Mti Mkubwa Camp Hiking Time: 3–4 hours